Product added to cart
Rigs massively increased in popularity in the late 2010's. With the mid-2020's fast approaching, they have maintained popularity across all types of gym facility. In the last 2 years, we have installed over 7,000 rig components across gym franchises, independent gyms, corporate gyms, school gyms & much more. We have seen a huge increase in favouring rig based classes compared to conventional cardio classes such as indoor cycling... and there's no signs of this trend slowing down.
Whilst very exciting, functional rigs can also be a daunting piece of kit if staff don't know how to make the most of them.
This guide will walk you through every step required to start programming exciting and versatile rig based functional classes.
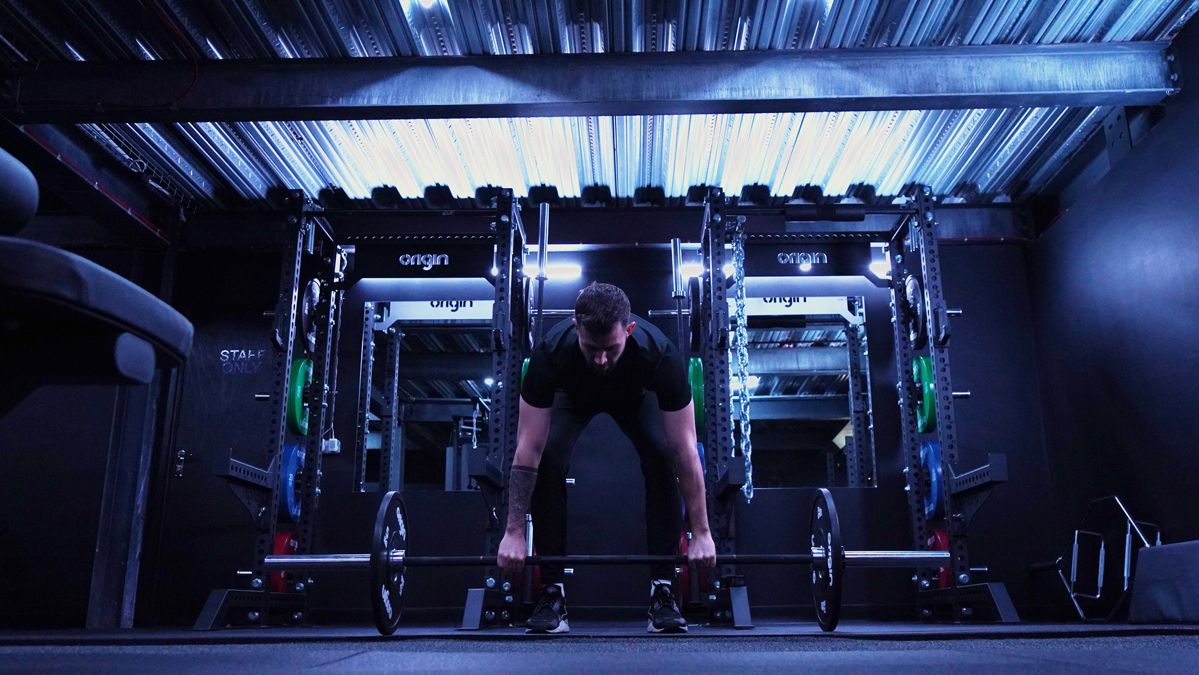
What is a Rig?
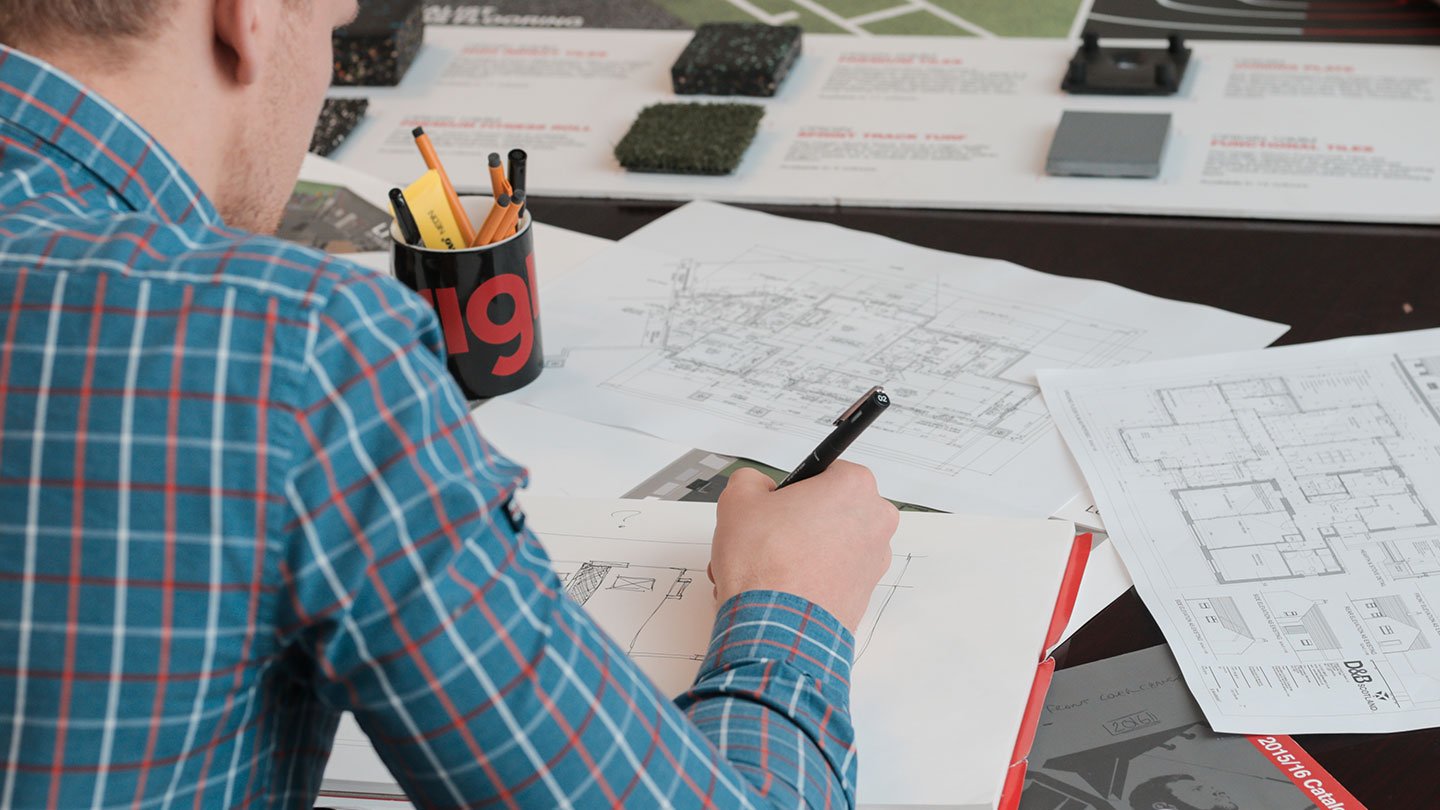
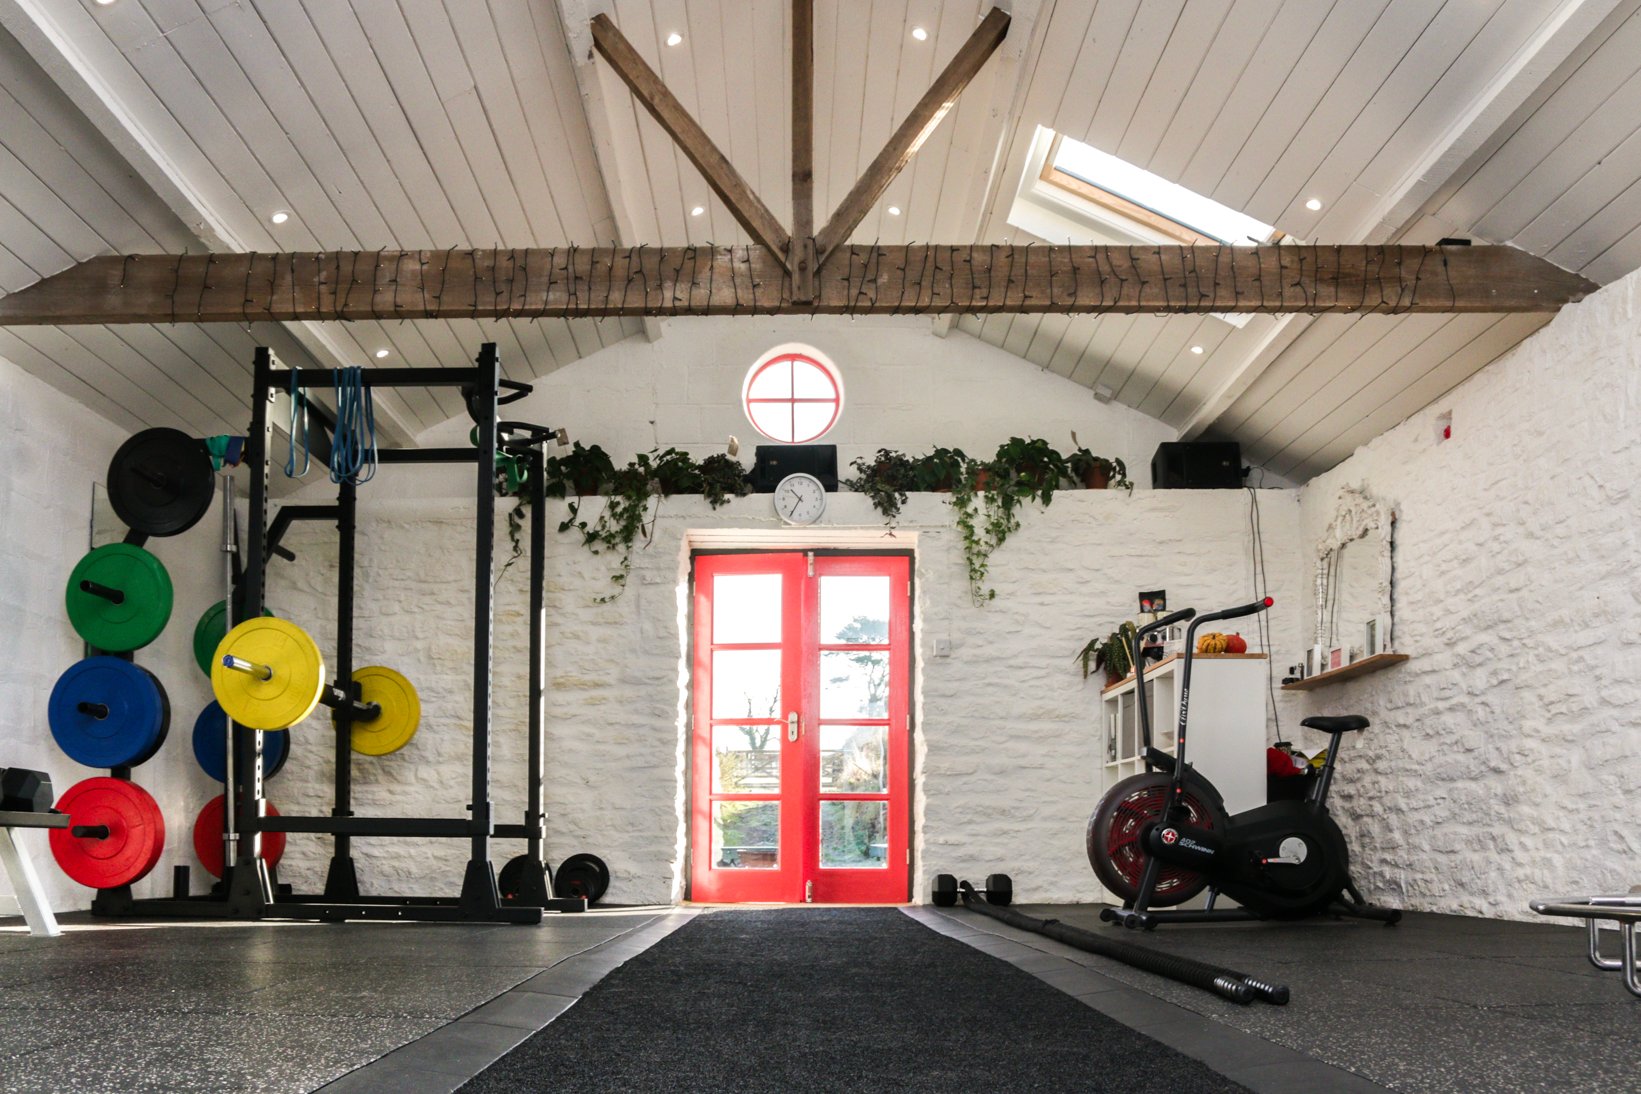
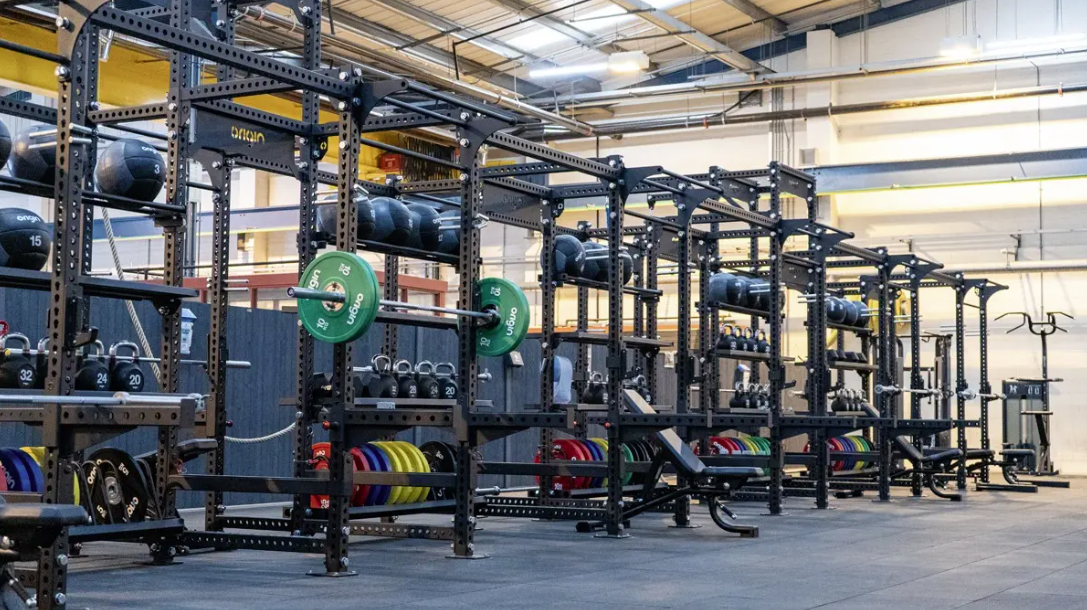
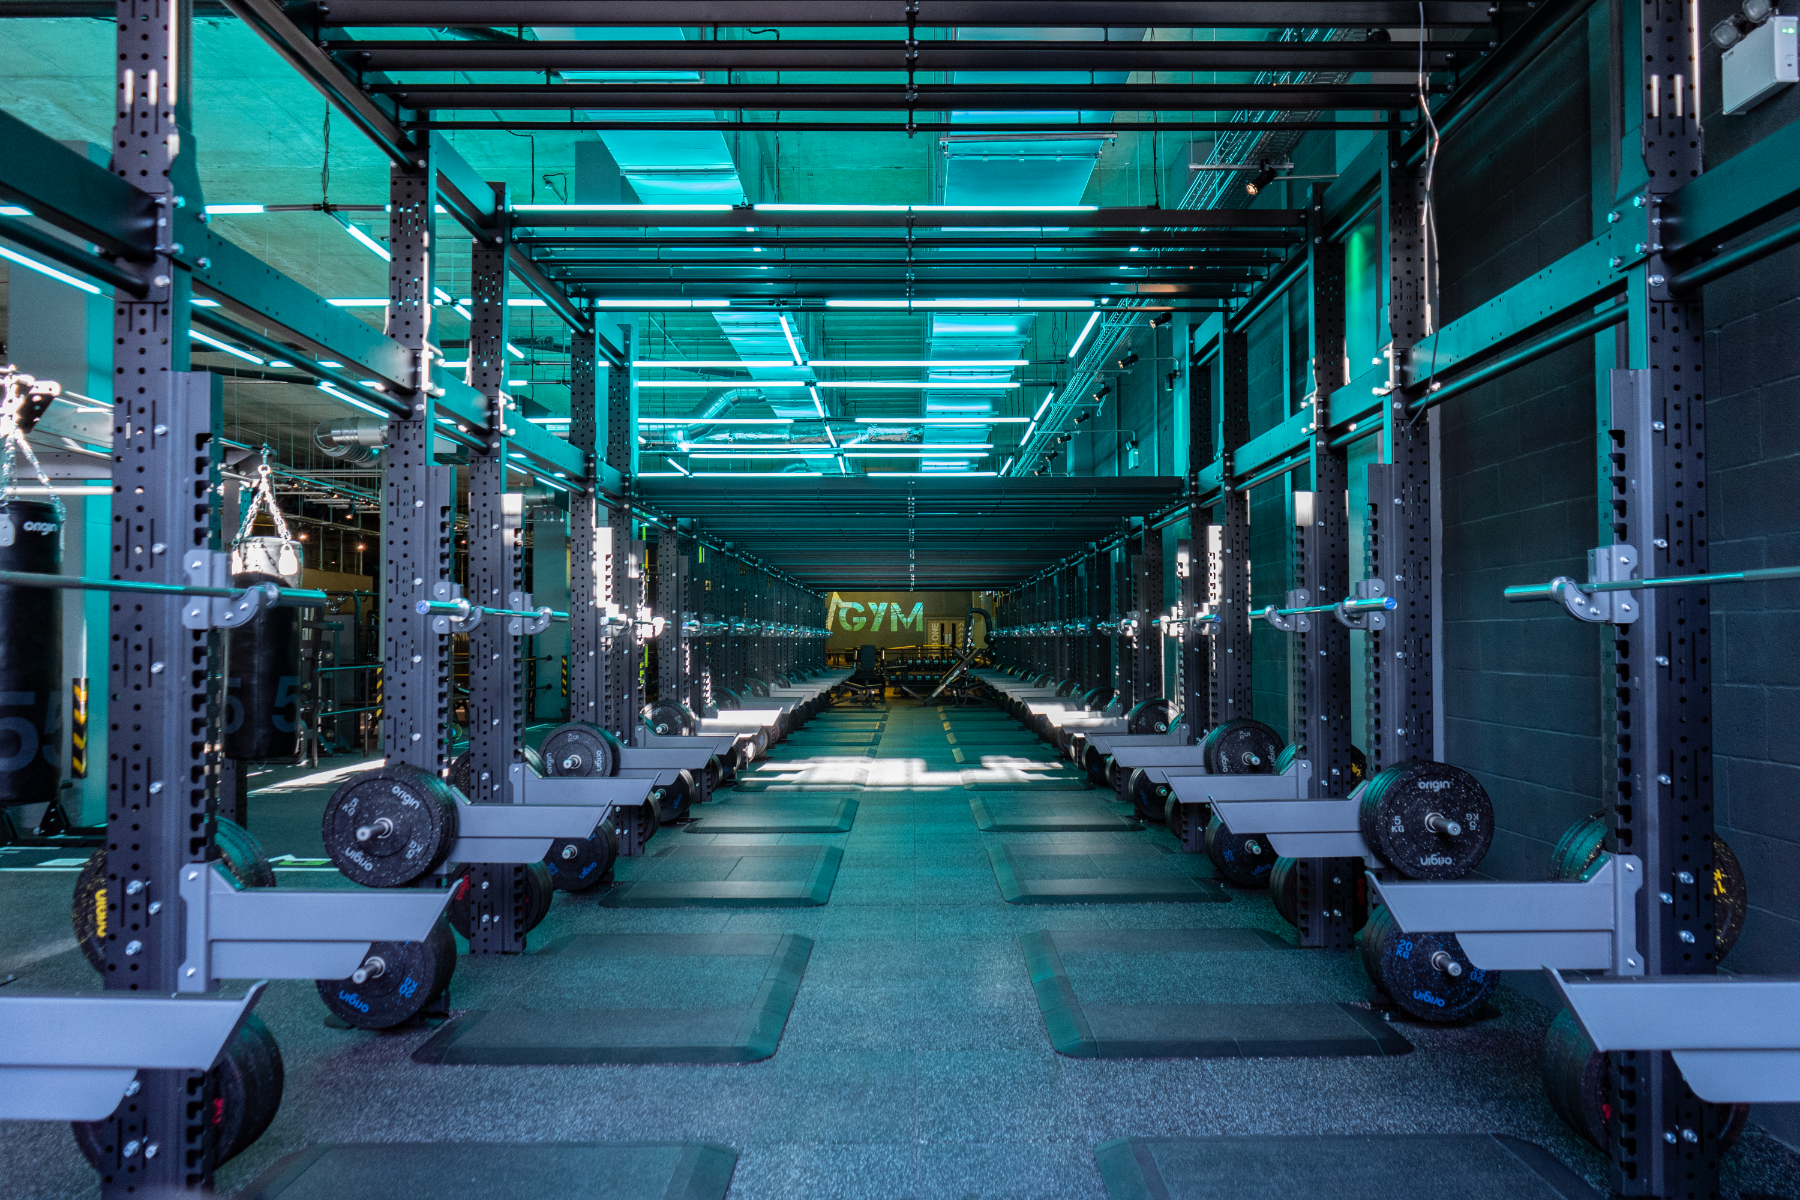
A rig is a bespoke or standard training station designed to fit your training area and requirements. It is a frame that can come in a range of shapes and sizes, that comes with a variety of fixed and removable attachments.
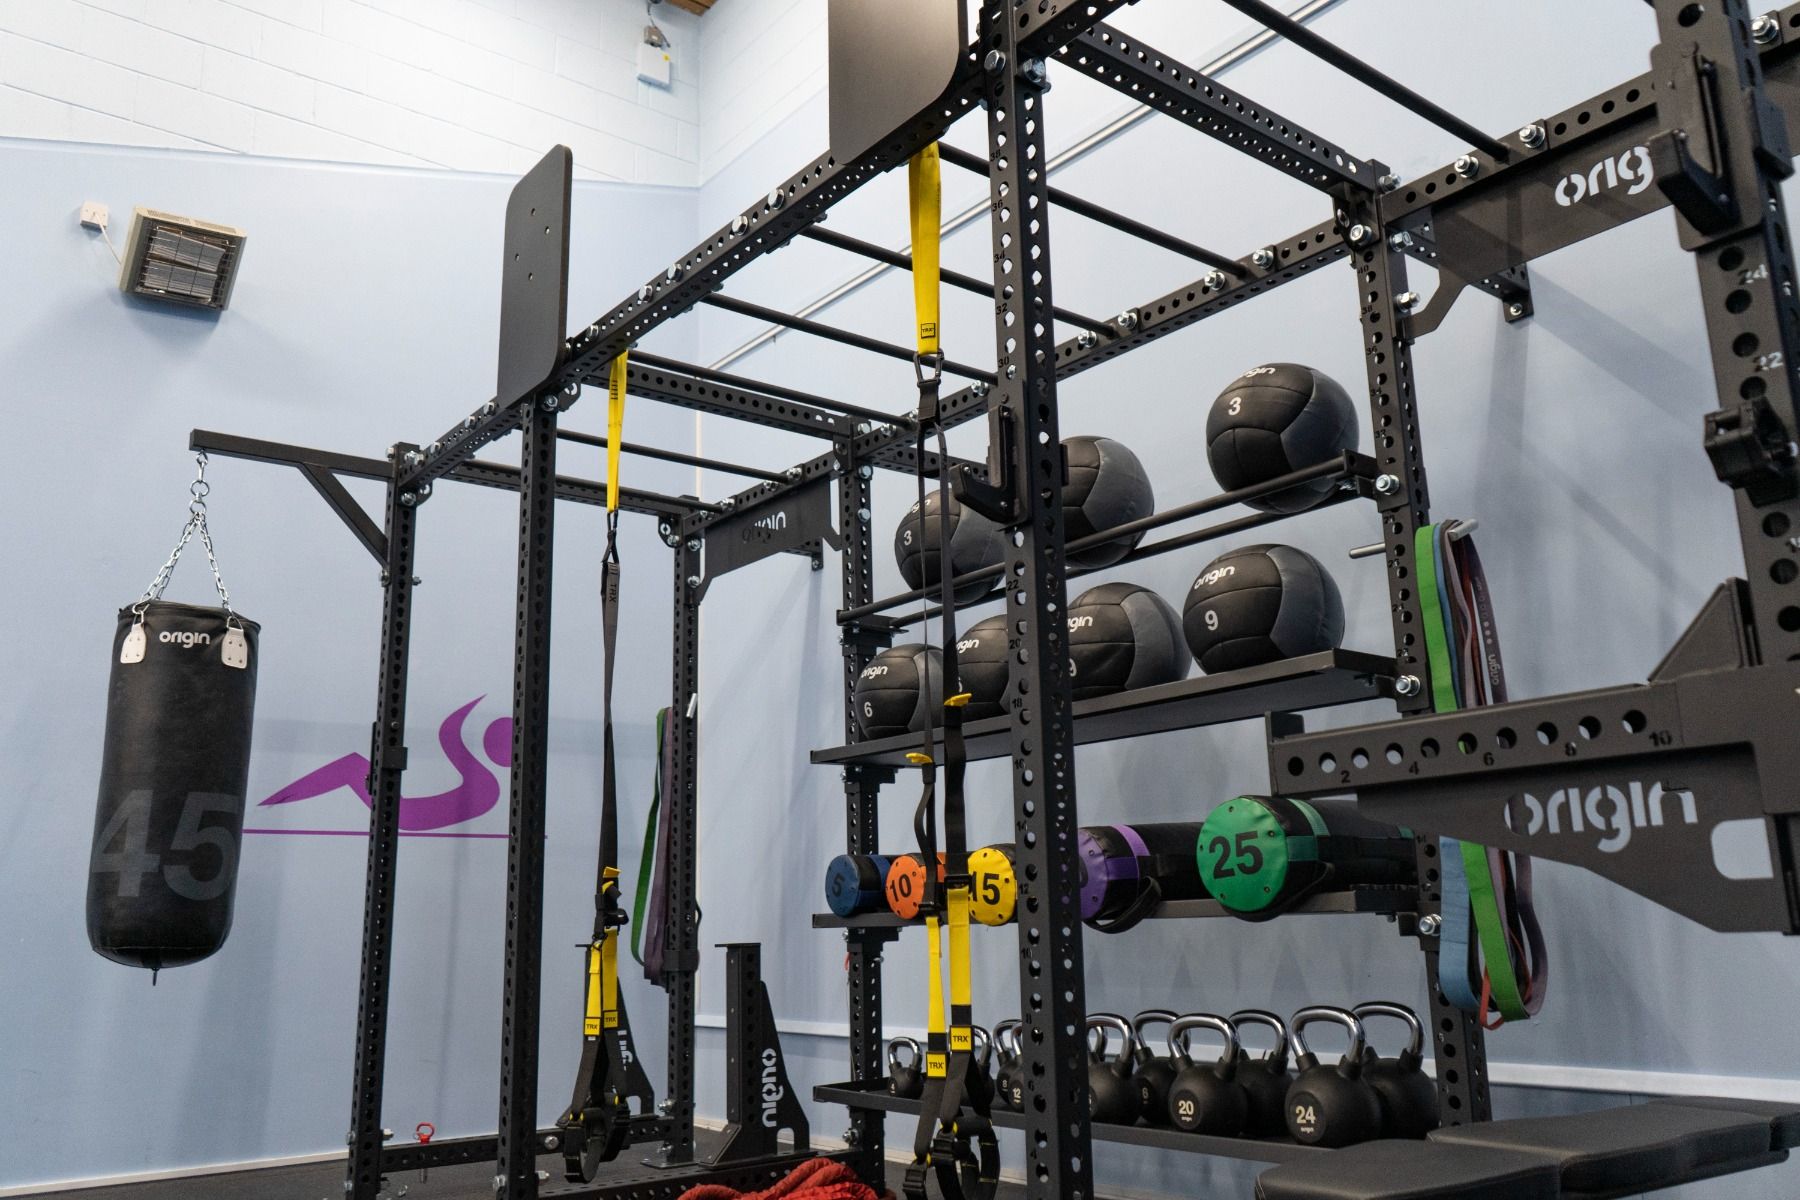
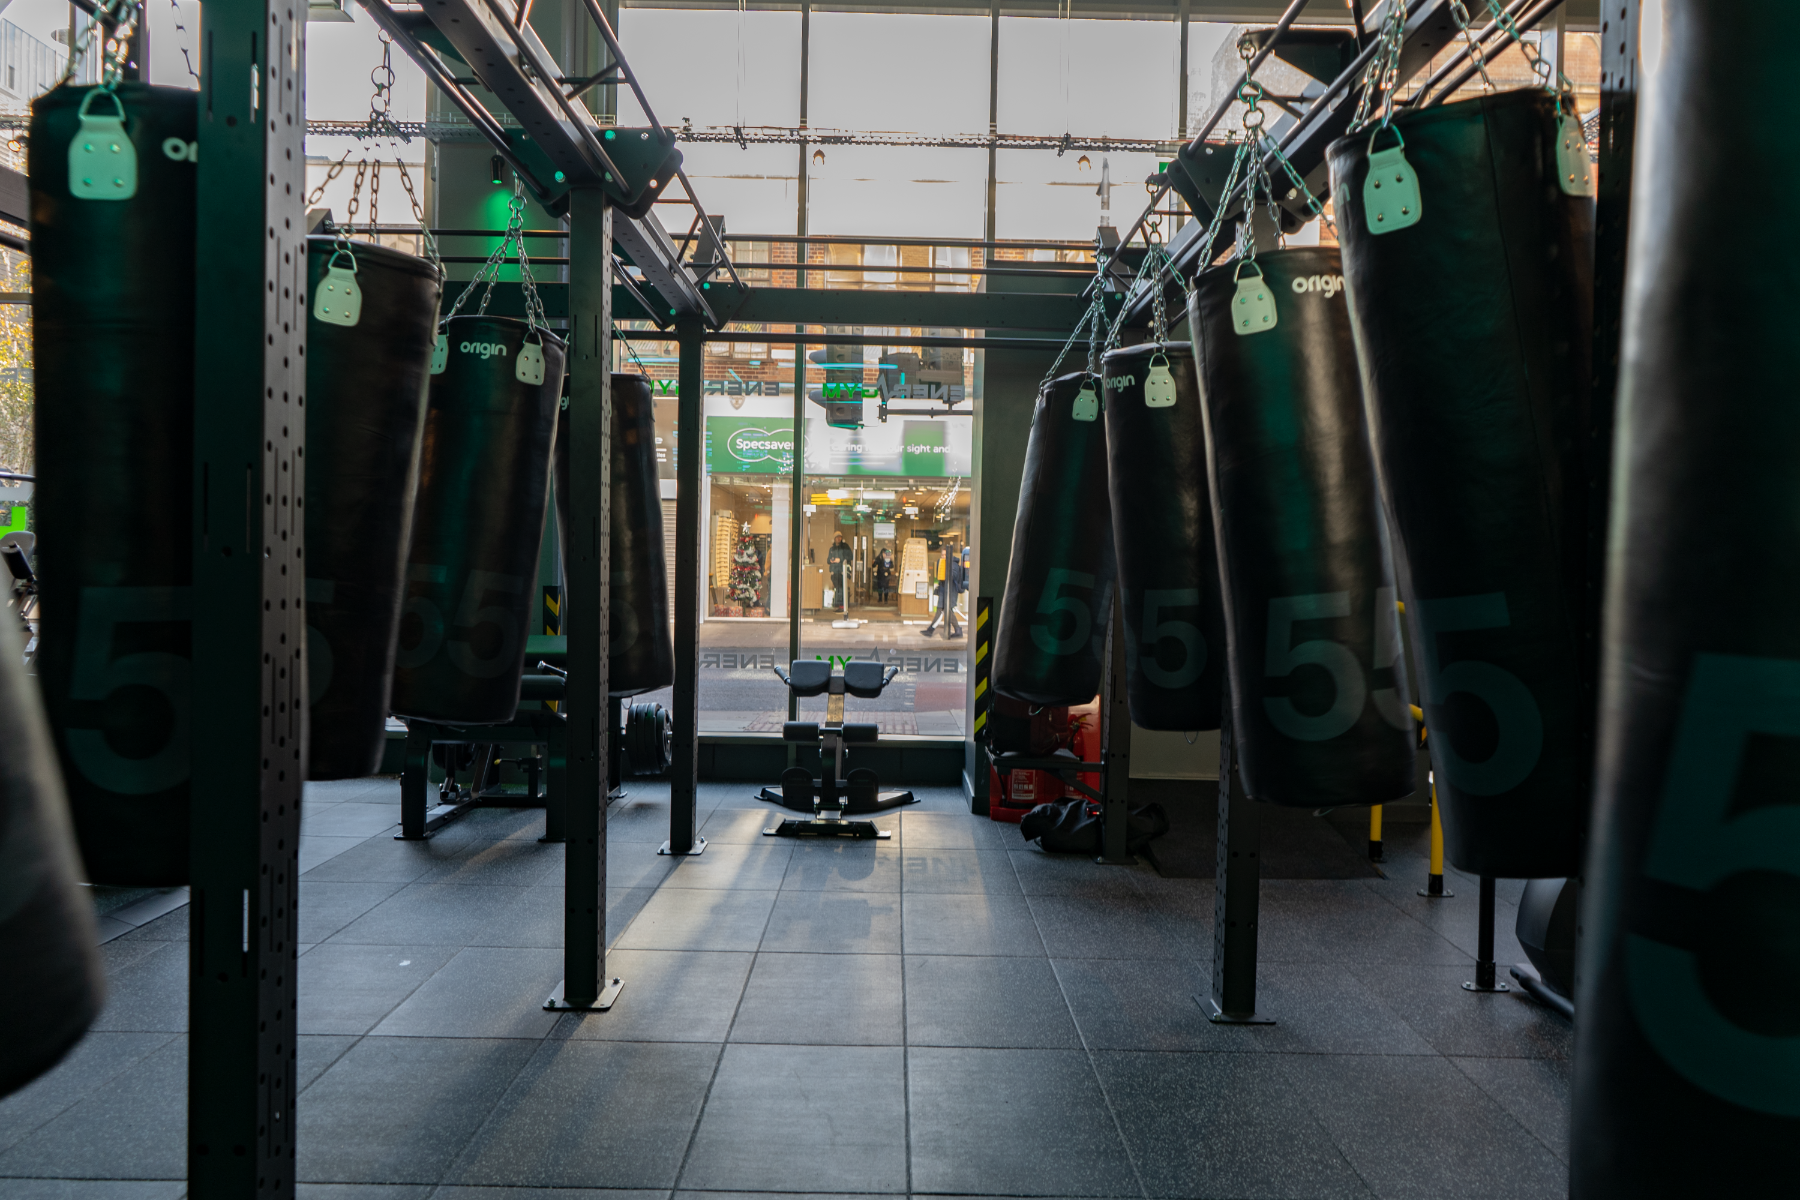
Some examples of attachments can include Dipping Stations, Dual Adjustable Pully’s, Rebounder, Cables Attachments, Step up and Box Jump platforms. Many rigs also offer built-in storage compartments, allowing users to safely store away a large selection of accessories and free weights.
But rigs aren’t just for monkey bars and pull-ups - the attachments and accessories you can use with them allows you to create a whole range of multipurpose training sessions.
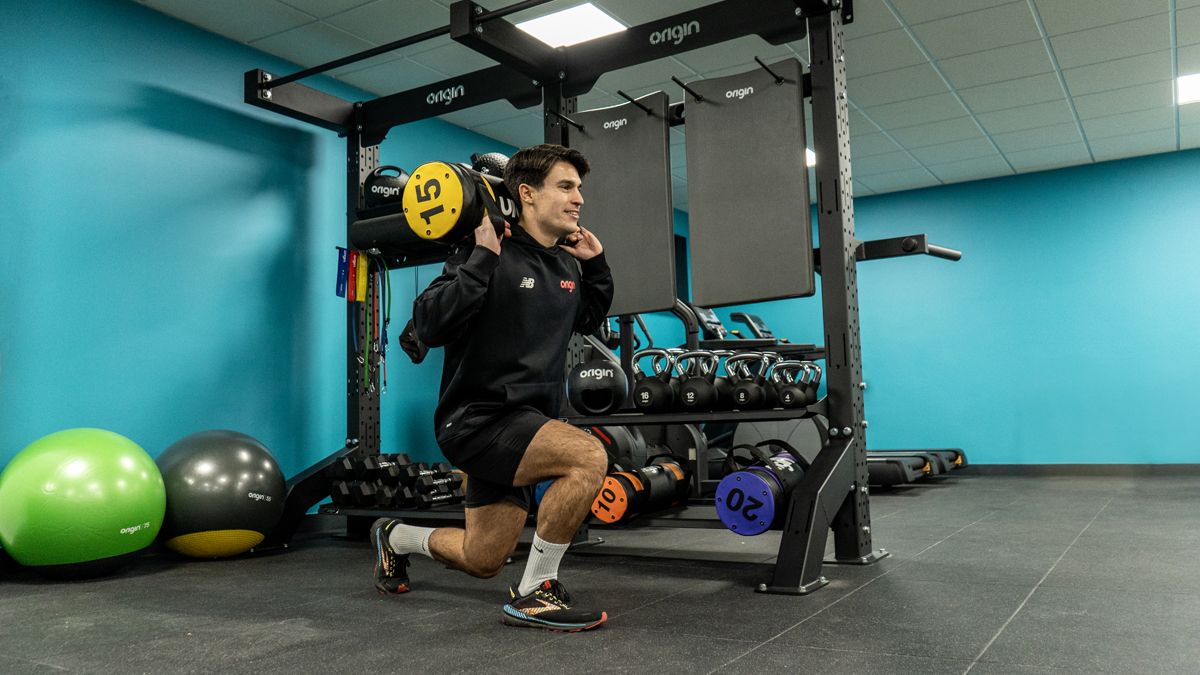
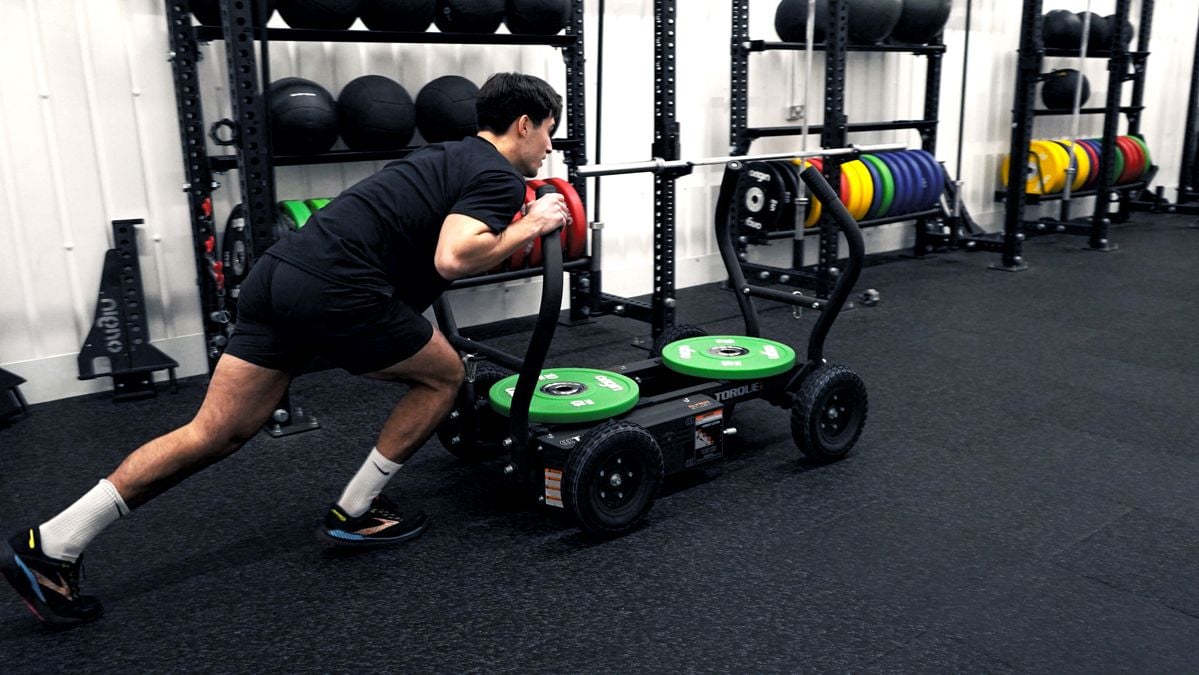
For example, complementing your rig with a range of accessories such as, kettlebells, suspension straps, medicine balls, battle ropes, resistance and power bands and can add a lot more to your training offering around the rig.
They are great for individual training but in this article we will focus on how to create rig based classes. A real advantage of using a rig to coach groups is that it enables individuals with mixed abilities to train side by side, whilst making it fun and effective.
The rig and attachments you have available to you will to some extent dictate the sessions you will be able to create. Remember, you can be creative in substituting unavailable attachments with equipment you do have available. For example: you may not have the step attachment on your rig, so grab a plyo box and bring it to the zone to incorporate box jumps into your session.
Combine the rig and the functionality it brings with traditional equipment and accessories to create session which, while centred on the rig, enables unrestricted total body workouts.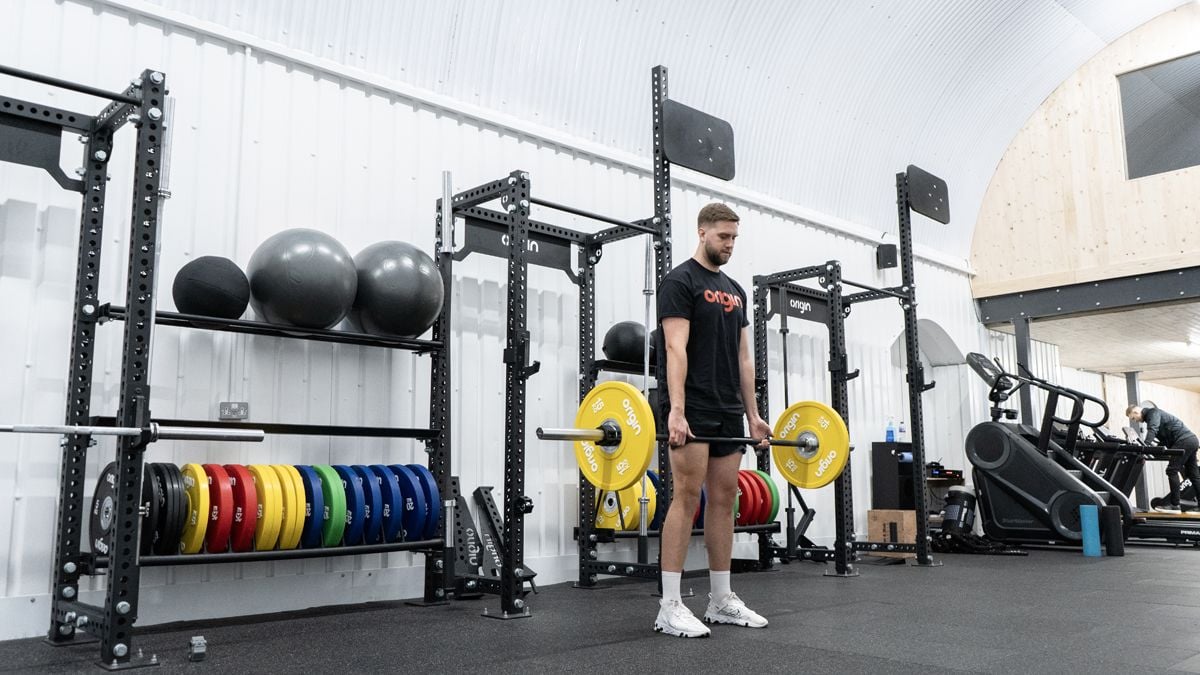
Before you start, as with all classes/sessions, keep any health or injury issues that your members may have at the forefront of your mind.
For individual programming, the following key training principles apply: adaptation, overload, specificity, acclimatisation, reversibility. This is slightly more difficult to control in a class environment with different individuals every week or class, however, it is something you can consider if you have regular attendees.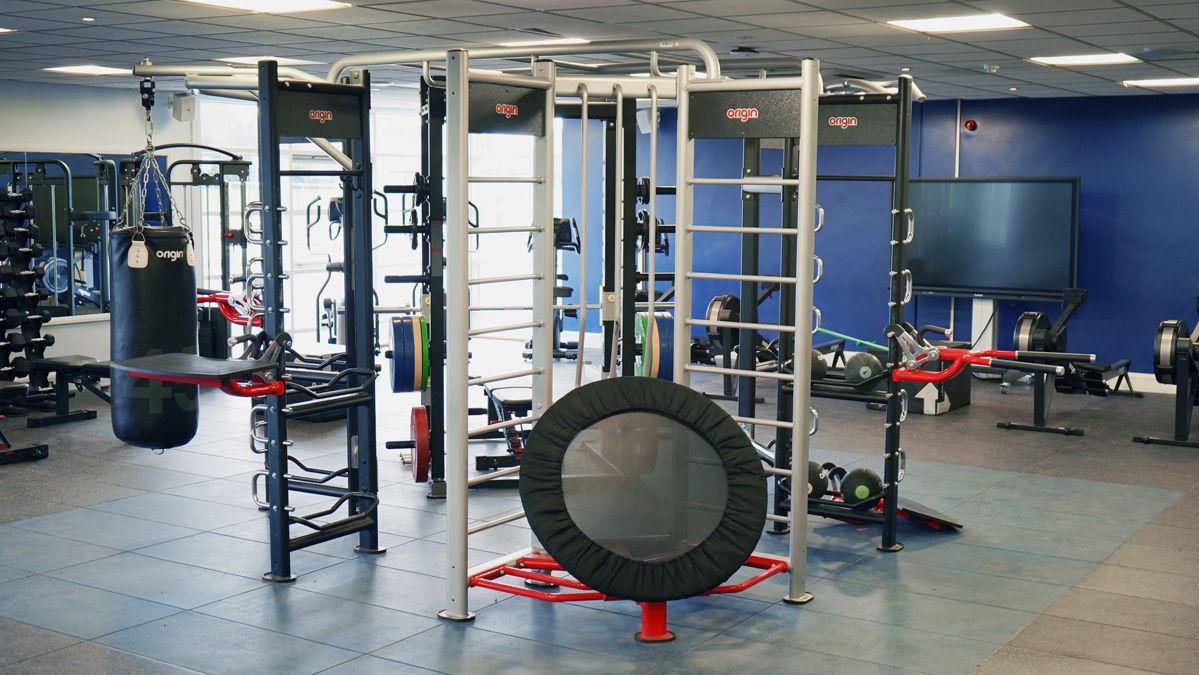
Including the term “functional” in your class title means that you should consider including the following movement patterns in your programme: squat, lift, pull, press, rotate, smash, gait and locomotion, moving and carrying load.
Also, consider including exercises using different planes and velocities. Make use of all the stations and add in accessories if your class attendance has more than the rig can hold.
Generally, try to keep your class between 30-45 minutes long. Keep in mind that you will have to include warm-up and cooldown within this time frame along with your full training session.
A brief introduction of yourself and the aim of the session is also a good idea, covering the structure, timings and exercise performed.
If there are any technical exercises within your circuit, make sure there is time to demonstrate thoroughly at the start.
Not "balancing a bosu ball on your head, whilst performing a bicep curl" creative, but think about what each station can do other than the obvious. A few examples:
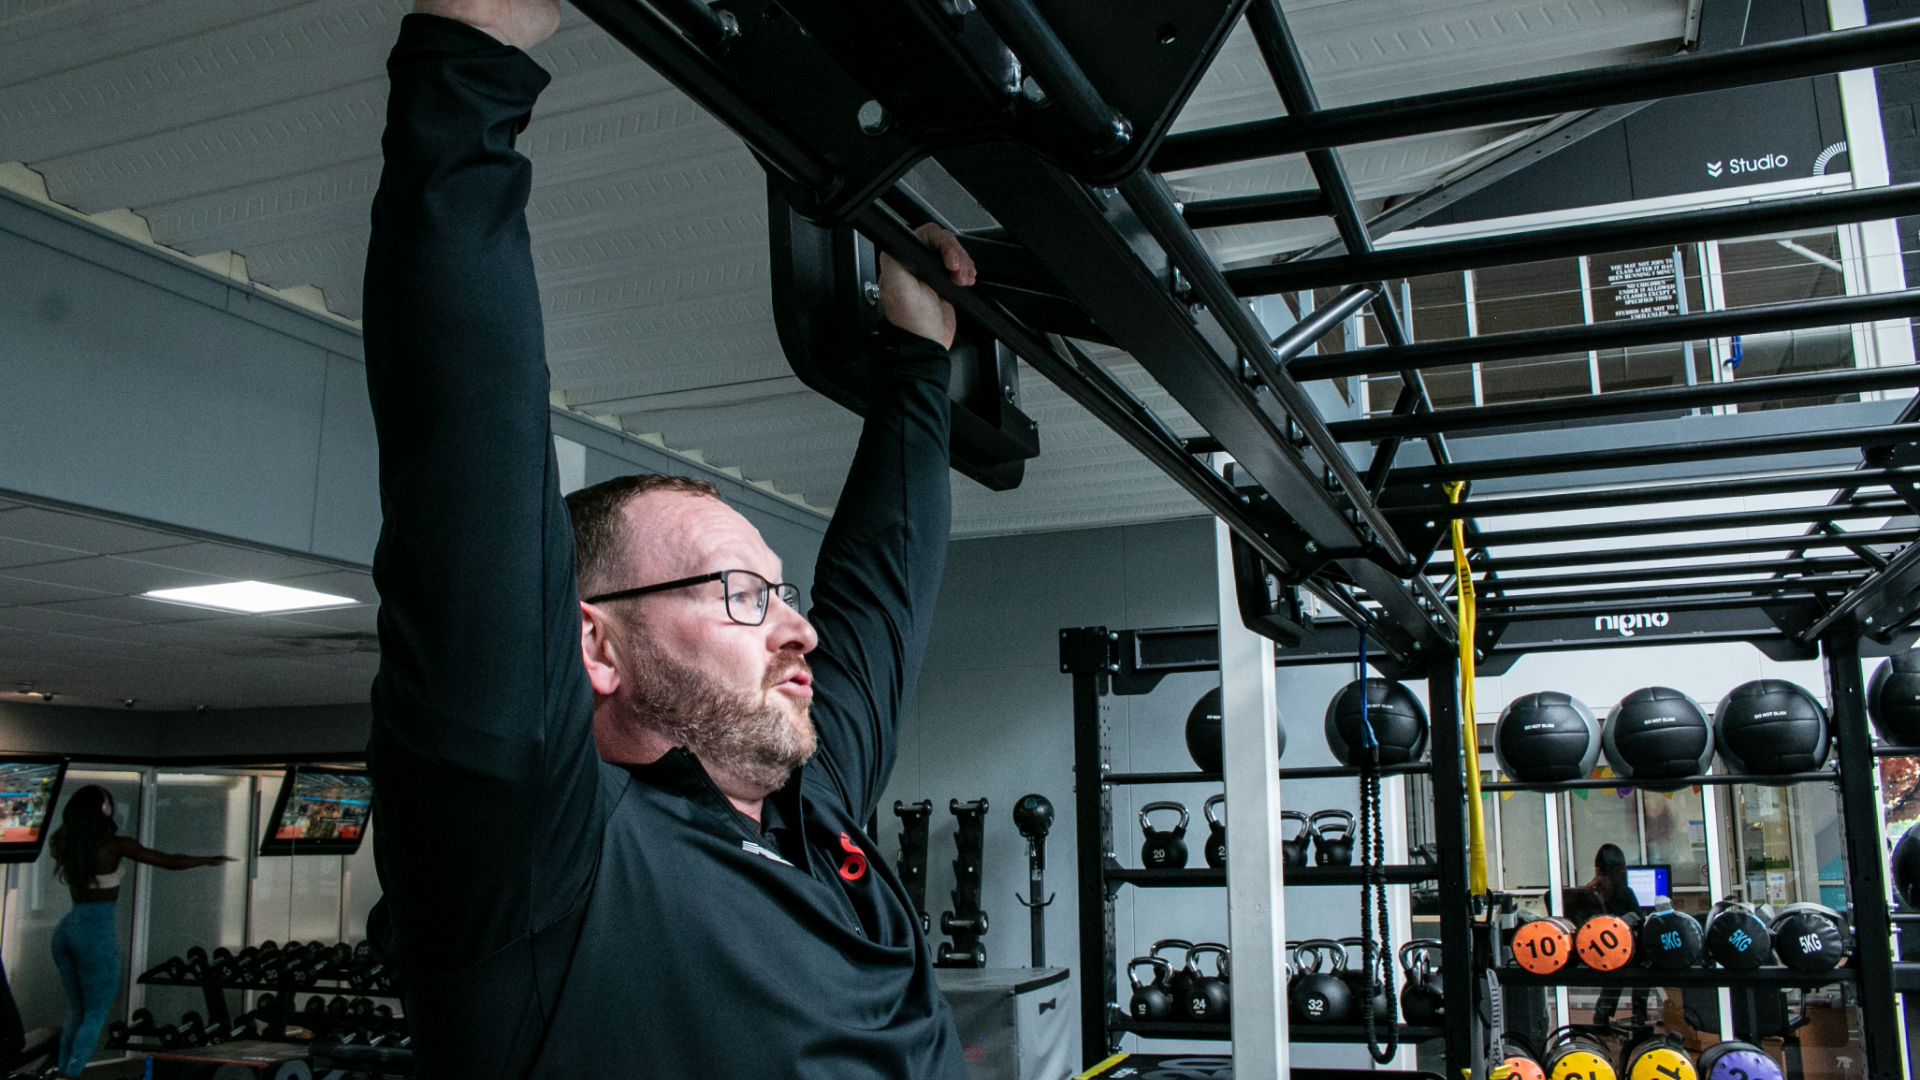
The monkey bars: other than just pull ups and travelling forward. You can also add in some simple hangs for grip strength, varying grips (split, supine, overhand, wide, narrow) and durations. You can play about with monkey bar travel patterns, for example lateral and zig zag.
Dip bars: yes, you can do triceps dips, but you can also play about with the height of the attachment and perform exercises such as isometric holds, press ups, planks, and supine rows to name a few.
Step up platform: exactly what it says on the tin; step ups. It’s also great for lateral step ups, single leg squats, box squats, jumps, press ups, plank variations, and glute bridges.
Pivot attachment: here you can do anything from a shoulder press to a squat. You can perform numerous rows and press variations teamed up with a lower body exercises turning it into a complex. The pivot attachment is a great way to add in some rotational and unilateral work into the circuit.
Battle ropes: these are not only great for the different wave variations you commonly see but they are also great for weaving through the loop attachments you can get on the rig to create a similar exercise pattern to a tug of war.
When working with a group, work: rest ratios done in times usually work better rather than set repetitions as this allows you to accommodate for a range of abilities. Adjusting these as the class progresses over the year is still possible by manipulating the work and rest durations.
The order in which the exercises will be performed is dependent on the goal of the entire session. If it is a total body session, a good way is to alternate upper and lower body parts or push and pull actions so the worked body part can have an active recovery on each alternating station.
Also, consider the flow of the exercises. How easily can they move on to the next station? Make sure there is also enough room for any exercise that may require travelling.
This is a time you can include static stretches to finish off the session. Really utilise the versatility the rig offers, as it often incorporates ideal holds and surfaces for stretching. You may want to consider the main body parts/movements that have just been focused on and pay attention to these areas in the short time you have to complete the cool down.
3-4 rounds of 30 seconds work to 30 seconds rest.
To find out more about designing a rig, or programming for functional rig classes, speak to any of our team today.
Creation Date: 5th June 2019. Updated on: 9th May 2024.